Hard cider is fermented apple juice — that’s it at the core. You start with fresh-pressed juice (or store-bought, no preservatives), add a yeast strain that eats the natural sugars, and wait a week or two while alcohol and flavor develop. The result can be bone-dry and tart, off-dry and fruity, or anywhere in between. If you already brew beer at home, the learning curve is almost flat: the same fermentation vessels, airlocks, sanitizers, and temperature instincts apply. If you’ve never fermented anything, cider is arguably the gentlest entry point — no mashing grain, no boil, no hop additions. You press “start,” and biology does most of the work. This guide walks through every meaningful tier of cider-making equipment, from a $40 one-gallon glass jug setup to a dedicated conical fermenter build worth $600+, so you can match gear to ambition without overspending on your first batch or underspending on your fifth.
| EDITOR'S PICKHard Cider Kit w/Bottles | Mid-tier[Speidel Plastic Fermenter-30L](https://www.amazon.com/dp/B07K7ZN7F9?tag=greenflower20-20) (… | Budget pick[Fermtech - Auto Siphon Mini](https://www.amazon.com/dp/B00SDLLZDY?tag=greenflower20-20) wit… | |
|---|---|---|---|
| Capacity | 2 Gal. | 7.9 Gal. | — |
| Airlock incl. | ✗ | — | — |
| Siphon incl. | ✗ | — | ✓ |
| Material | — | Plastic | — |
| Bottles incl. | ✓ | — | — |
| Price | $115.00 | $89.44 | $15.99 |
| See on Amazon → | See on Amazon → | See on Amazon → |
Why Cider Deserves Its Own Equipment Conversation
Most homebrewing guides treat cider as a beer footnote — swap in juice, done. That framing undersells some real differences that affect equipment choices.
Sugar composition matters. Apple juice is almost entirely simple sugars (fructose, glucose, sucrose), which yeast ferment very efficiently. A healthy fermentation can drop a 1.050 starting gravity (about 6.5% potential alcohol) to near 1.000 in five to ten days at room temperature. That speed is a feature, but it also means temperature spikes during active fermentation can produce fusel alcohols — the “hot” chemical taste you sometimes get in a rushed cider. Per the American Homebrewers Association’s “Getting Started with Cider” resource guide, temperature control during peak fermentation is the single most impactful process variable for flavor quality in cider, more so than in many ale styles.
Oxygen sensitivity is higher post-fermentation. Beer has hop compounds and proteins that offer some oxidation buffering. Cider doesn’t. Once fermentation is complete and you’re aging or carbonating, oxygen pickup degrades delicate apple aromatics fast. That pushes intermediate and advanced cider makers toward equipment with better seal integrity — tri-clamp fittings, pressure-capable vessels, and closed transfers — sooner than a beer brewer might reach for those tools.
Acidity and tannins interact with metal. Fresh cider is naturally acidic (pH 3.2–3.8 is typical). Reactive metals corrode faster in acidic environments. This is why stainless steel or food-grade HDPE containers matter more for long-contact cider aging than they might for a short-contact beer ferment. That’s not a reason to panic about equipment, just a reason to understand why the stainless options earn their price premium.
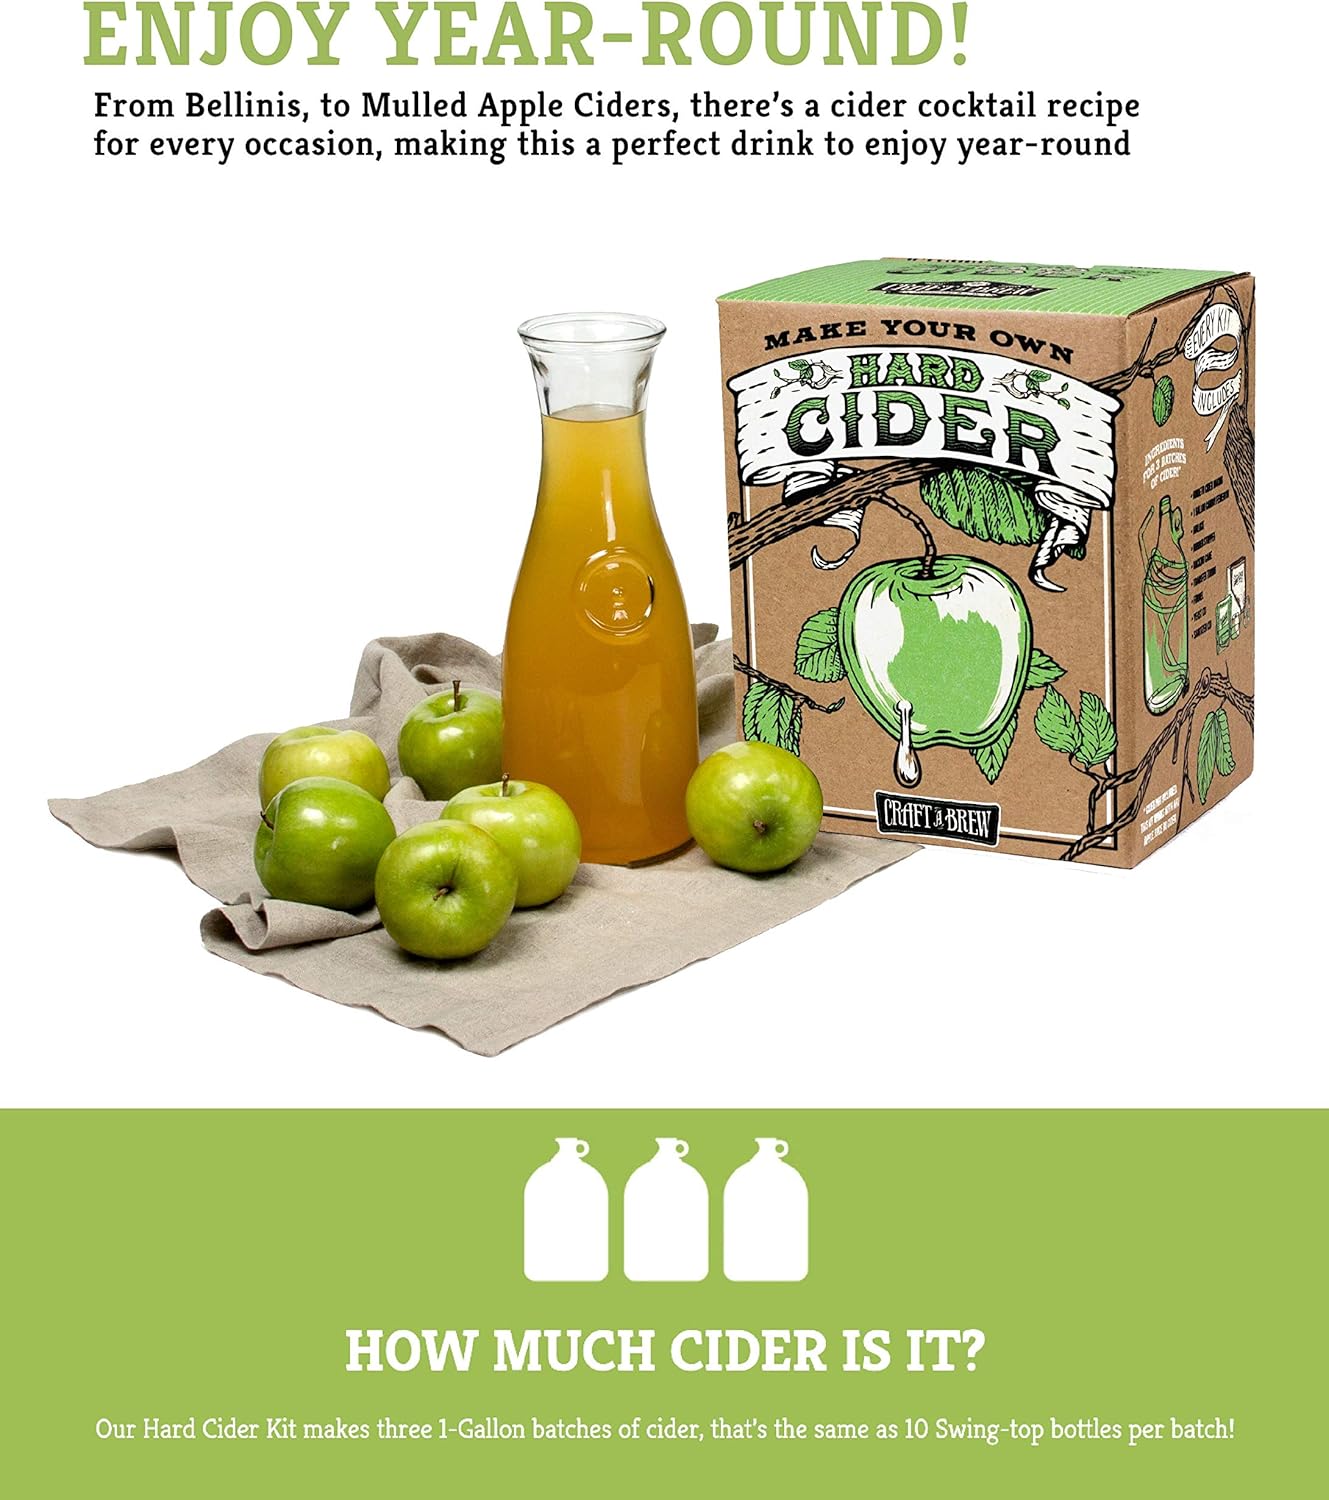
Tier 1 — The $40–$120 One-Gallon Starter Kit
If you want to make cider without committing serious money, a one-gallon glass jug setup is the right call. You’re looking at:
- A 1-gallon glass jug (often sold as a “wine” or “cider” starter kit by Northern Brewer or Brooklyn Brew Shop)
- A drilled rubber stopper
- A plastic airlock (the S-curve or three-piece style — the airlock lets CO₂ escape during fermentation while keeping outside air out)
- Campden tablets or a Star San solution packet for sanitizing
- A packet of cider or wine yeast — Lalvin EC-1118 (champagne yeast) and Lalvin 71B are the two most commonly included strains
What you’re buying: Proof of concept. One gallon yields roughly ten 12-oz bottles. The batch is small enough that a mistake is cheap, and the process is fast enough that you can iterate twice in a month.
What you’re trading away: Temperature control, oxygen protection after fermentation, and any meaningful carbonation without a separate bottling step. Expect variable results batch-to-batch until you develop process instincts.
The honest math on starter kits:
| Kit element | Typical cost (2026) |
|---|---|
| 1-gal glass jug kit (basic) | $35–$55 |
| Gallon of fresh-pressed juice | $8–$14 |
| Yeast packet (individual) | $1.50–$4 |
| Total first batch | ~$50–$75 |
CraftBeer.com’s “What Is Hard Cider?” primer notes that unpasteurized fresh-pressed juice — often available at farmers markets in autumn — produces noticeably more complex cider than pasteurized supermarket apple juice, because wild yeast and microflora in fresh juice contribute fermentation byproducts that build aromatic depth. If you can access fresh juice in season, prioritize it over the jug.
Decision rule at this tier: If you have never fermented anything and want to test whether you enjoy the process before spending more, start here. If you already own a one-gallon beer kit, buy a second stopper and airlock and you’re set — the jug works identically.
Tier 2 — The $150–$350 Three-to-Five Gallon Build
This is where most intermediate homebrewers land after their first or second cider batch goes well. The jump from one gallon to three or five gallons is less about scale and more about accessing better process tools.
The core setup:
- A 3- or 5-gallon glass carboy or food-grade PET (plastic) fermenter — PET is lighter and less prone to breakage but scratches more easily, which can harbor bacteria over time
- An auto-siphon and racking cane (for transferring cider between vessels without disturbing sediment or introducing air)
- A hydrometer (measures sugar density — lets you track fermentation progress) and a wine thief (a long tube for pulling samples without opening the vessel)
- Better yeast: White Labs WLP775 English Cider or Wyeast 4766 Cider are liquid strains that owners and reviewers consistently describe as producing cleaner, more apple-forward results than the dry champagne yeasts in starter kits, per Brew Your Own’s “Hard Cider: Ingredients, Fermentation, and Finishing” feature
The meaningful upgrade at this tier: A temperature-controlled fermentation chamber. This can be as simple as a secondhand mini-fridge with an Inkbird ITC-308 temperature controller (a plug-in device that turns the fridge on/off to hit your target). Brulosophy’s experiment series on “Temperature Control in Cider Fermentation” documents consistent flavor differences between ambient-temperature and controlled-temperature cider batches — controlled fermentation at 60–65°F (15–18°C) produces cleaner, more expressive fruit character in most trials.
What you’re buying at this tier: Repeatability. You’ll start to understand what your process produces and be able to isolate variables.
What you’re still trading away: Pressure-capable fermentation (no carbonating in-vessel), robust oxygen sealing for long aging runs, and any automated process monitoring.
If X, then Y: If you’re making three or more batches per year and you want results that taste intentional rather than lucky, this tier is where to land. Don’t skip the temperature controller — it’s the highest-return purchase in intermediate cider making.
Tier 3 — The $350–$800 Conical Fermenter Build
Here’s where the cider process starts to look like the advanced beer setups this site covers in depth. A stainless steel conical fermenter — the Ss Brewtech Brew Bucket (7-gallon), Anvil Crucible, or similar — changes what’s possible in three specific ways:
1. Yeast collection and repitching. A conical’s bottom dump valve lets you drain the yeast sediment (called “lees” in cider) cleanly without disturbing the cider above it. For beer brewers, this is standard practice. For cider makers, it matters because cider can sit on heavy lees for weeks and develop off-flavors (autolysis — yeast cells breaking down and releasing sulfury, meaty compounds). Clearing lees mid-fermentation without a messy transfer is a real process improvement.
2. Pressure-capable vessels allow natural carbonation. If you’re using a unitank-style conical or a pressure-capable vessel like the Kegland FermZilla All Rounder (a popular option owners describe as delivering excellent value for closed, pressurized fermentation), you can carbonate cider in-vessel by adding a small amount of sugar and sealing the lid at a target pressure. The result is finer, more stable carbonation than bottle conditioning and no risk of bottle bombs.
3. Integrated temperature control ports. Ss Brewtech’s Brew Bucket and Anvil’s Crucible both have glycol or cooling coil jacket options. Pair with a controller, and you’re managing fermentation curves — ramping temperature up to encourage yeast activity at pitch, holding steady during peak fermentation, then cold-crashing (dropping to near-freezing to flocculate yeast out of suspension) before kegging. Per Craft Beer & Brewing’s “Cider Yeast Selection Guide,” cold-crashing dramatically clarifies cider without filtration, which is the primary tool nano-brewers and serious hobbyists use to produce commercial-looking product at home.
The honest math at this tier:
- Ss Brewtech 7-gallon Brew Bucket: ~$300–$350 (published retail, May 2026)
- Anvil Crucible 7.5-gallon: ~$280–$320
- Inkbird or Ranco temperature controller (if not already owned): ~$40–$80
- Keg setup for serving carbonated cider (5-gallon ball-lock keg + regulator + CO₂ tank): ~$150–$250 used / $300–$400 new
Total build for a serious hobbyist doing 5-gallon cider batches, served on draft: $550–$1,100 depending on new vs. used and brand selection.
What you’re getting: Repeatability at near-commercial quality. Your lees management is clean, your carbonation is controlled, your clarity is excellent, and your process is documentable — which matters if you’re thinking about a nano-brewery license down the road.
Decision rule: If you’re making cider to serve at events, sell at farmers markets (where licensed), or scale toward a nano-cidery, skip Tiers 1 and 2 and build here from the start. The equipment is compatible with commercial processes and the process discipline you develop transfers directly.
Ingredient and Yeast Pairing Notes for Each Tier
Equipment only matters if the juice going in is worth fermenting. A few sourcing and ingredient notes by tier:
Beginner: Use commercially pasteurized juice with no preservatives (no potassium sorbate — this inhibits yeast and will cause a failed fermentation). Trader Joe’s Honeycrisp Blend and Tree Top 100% Apple Juice are both commonly cited in the homebrewing community as reliable, preservative-free options. Lalvin EC-1118 ferments to dryness quickly and tolerates temperature swings; it’s forgiving but produces a thin, wine-like cider rather than a fruity one.
Intermediate: Blend varieties. A mix of tart (Granny Smith) and sweet (Fuji or Gala) juices, or a dedicated heritage cider apple blend from an orchard, gives more tannin structure and complexity. White Labs WLP775 and Wyeast 4766 are the practitioner’s yeast picks — operators in long-run reviews note that WLP775 in particular preserves apple character in a way EC-1118 doesn’t.
Advanced: Supplement juice with malic acid (native to apples), tannin powder (for body), and nutrient additions (Fermaid-O or Fermaid-K are industry-standard yeast nutrient blends). Per BYO Magazine’s hard cider feature, staggered nutrient additions — adding nutrients in split doses over the first 72 hours rather than all at pitch — produce cleaner fermentation and better aromatics in apple-based ferments.
The Clear Decision Frame
- You’ve never fermented anything: Start with a 1-gallon starter kit (~$50–$75 all-in). Make one batch. Decide if you like the process.
- You’ve brewed beer or made a batch of cider and want repeatability: Build the 3–5 gallon setup with a temperature controller. Budget $200–$350.
- You’re serious about quality, serve cider regularly, or are thinking commercially: Go straight to a conical fermenter with pressure and temperature control capability. Budget $550–$1,100. Don’t half-step it.
- You’re transitioning to a nano-cidery or licensed production: The Ss Brewtech or Anvil conical builds are directly compatible with tri-clamp fittings and glycol chiller integration. Document your process from the first batch — the paperwork discipline you build now becomes your production SOP later.
The jump from “decent cider” to “cider you’re proud to pour” isn’t mystical. It’s temperature control, oxygen management, and the right yeast for the juice you’re using. Pick the tier that matches where you actually are, not where you hope to be in two years — and let the equipment grow with your palate.